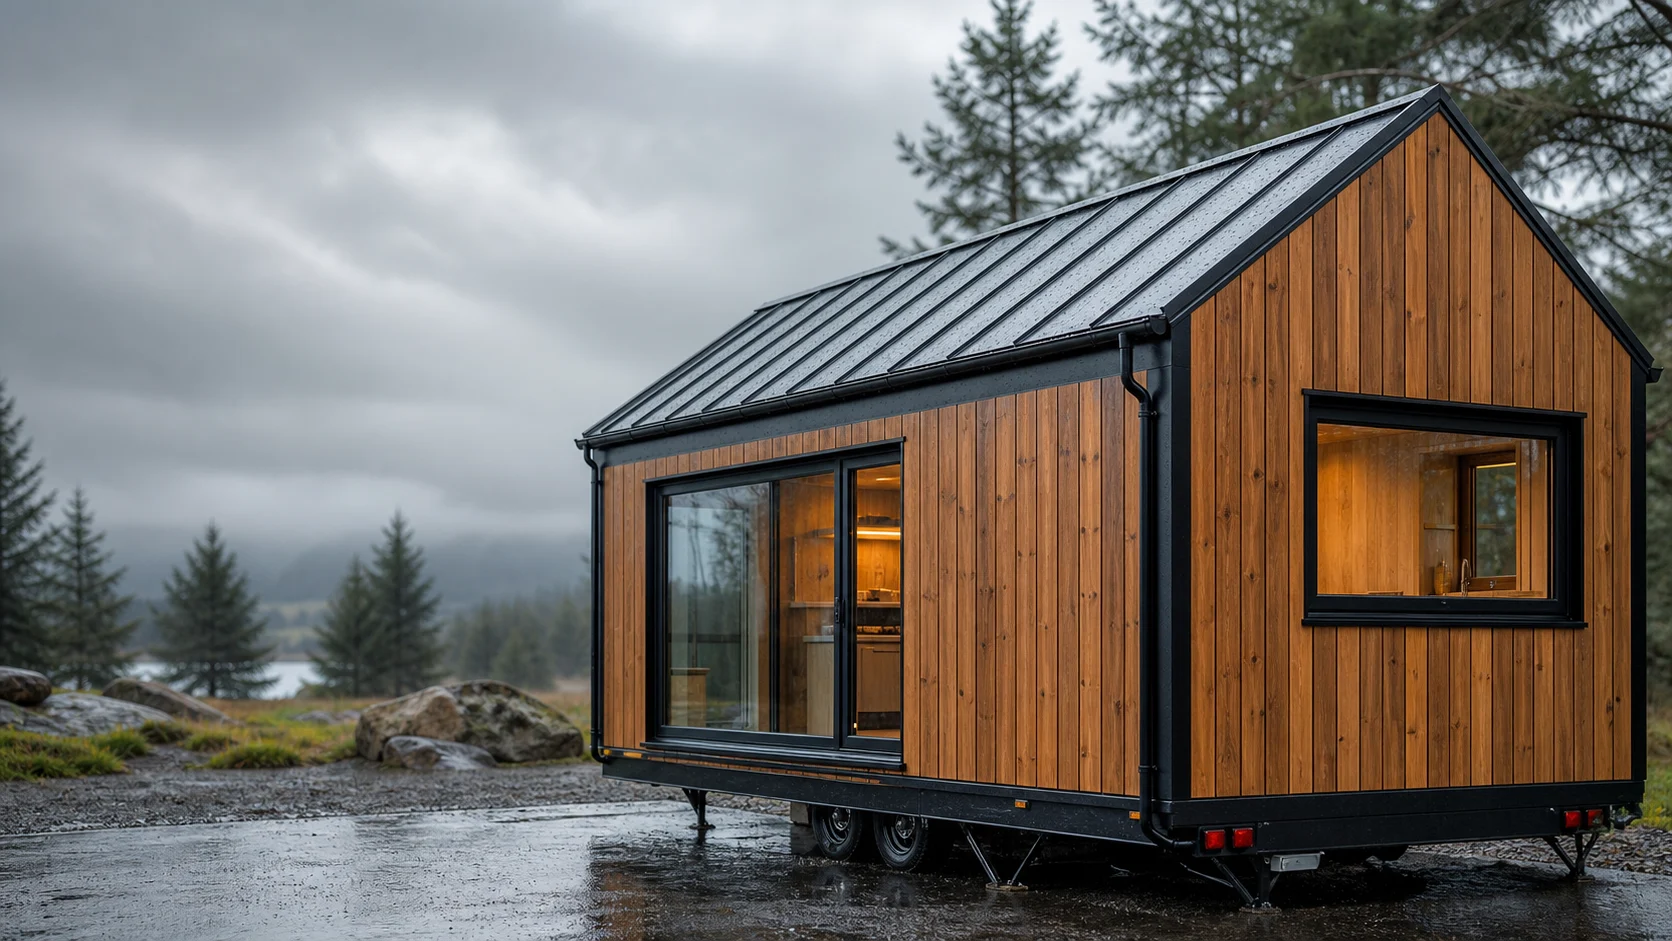
Timber buildings and tiny houses offer warm, natural and energy-efficient living spaces when properly designed. Their most sensitive issue, however, is moisture management. Prolonged water exposure to timber supports, OSB boards, facade cladding and floor details creates risks of swelling, mould, rot and fastener corrosion. Timber building waterproofing and tiny house waterproofing must therefore be considered as a complete system from roof to floor, rather than simply a surface-applied coating.
Why Is Waterproofing More Critical in Timber Buildings?
In reinforced concrete buildings, water damage often appears as blistered render, peeling paint or reinforcement corrosion. In timber buildings, moisture can affect the strength of structural sections. A small window leak, an unsealed screw hole or an incorrect roof junction can gradually allow water into the structure, leading to major repair costs.
The risk increases further in tiny house projects. Because the structure is more compact, the kitchen, bathroom, sleeping area, roof and facade are very close together. Movement, vibration and road conditions can also stress joints in tiny houses on wheels. Waterproofing must therefore be flexible, continuous and suited to the details.
Waterproofing and Vapour Control Are Different
One of the most common mistakes in timber construction is assuming that making the structure completely airtight is safer. The correct solution is to keep water outside while managing water vapour that may form within the building layers in a controlled way. A wrongly positioned vapour barrier can trap moisture inside the timber and increase the risk of rot.
Water-repellent but vapour-regulating layers should therefore be considered on the facade, with vapour control details suited to the intended use and climate on the inside. In tiny houses heated during winter in particular, the movement of indoor moisture into wall and roof layers must be carefully addressed.
Critical Waterproofing Areas in Timber Buildings and Tiny Houses
Waterproofing success is demonstrated at junctions and penetrations as well as on the main surfaces. The following areas require particular attention in timber buildings:
- Roof and eaves details: The most important line of protection preventing rainwater running down the facade.
- Window and door perimeters: Tape, gasket, drip edge and surround junctions must be correctly designed against leakage.
- Floor and chassis connection: Road water, splash water and condensation risks must be considered together in tiny houses.
- Bathroom and kitchen areas: Interior waterproofing must be applied continuously with systems beneath tiles or coverings.
- Behind facade cladding: A ventilation cavity and drainage path allow incoming water to discharge.
- Service penetrations: Pipes, cables, flues and ventilation outlets require special collars and sealing details.
Roof Waterproofing: The First Line of Defence
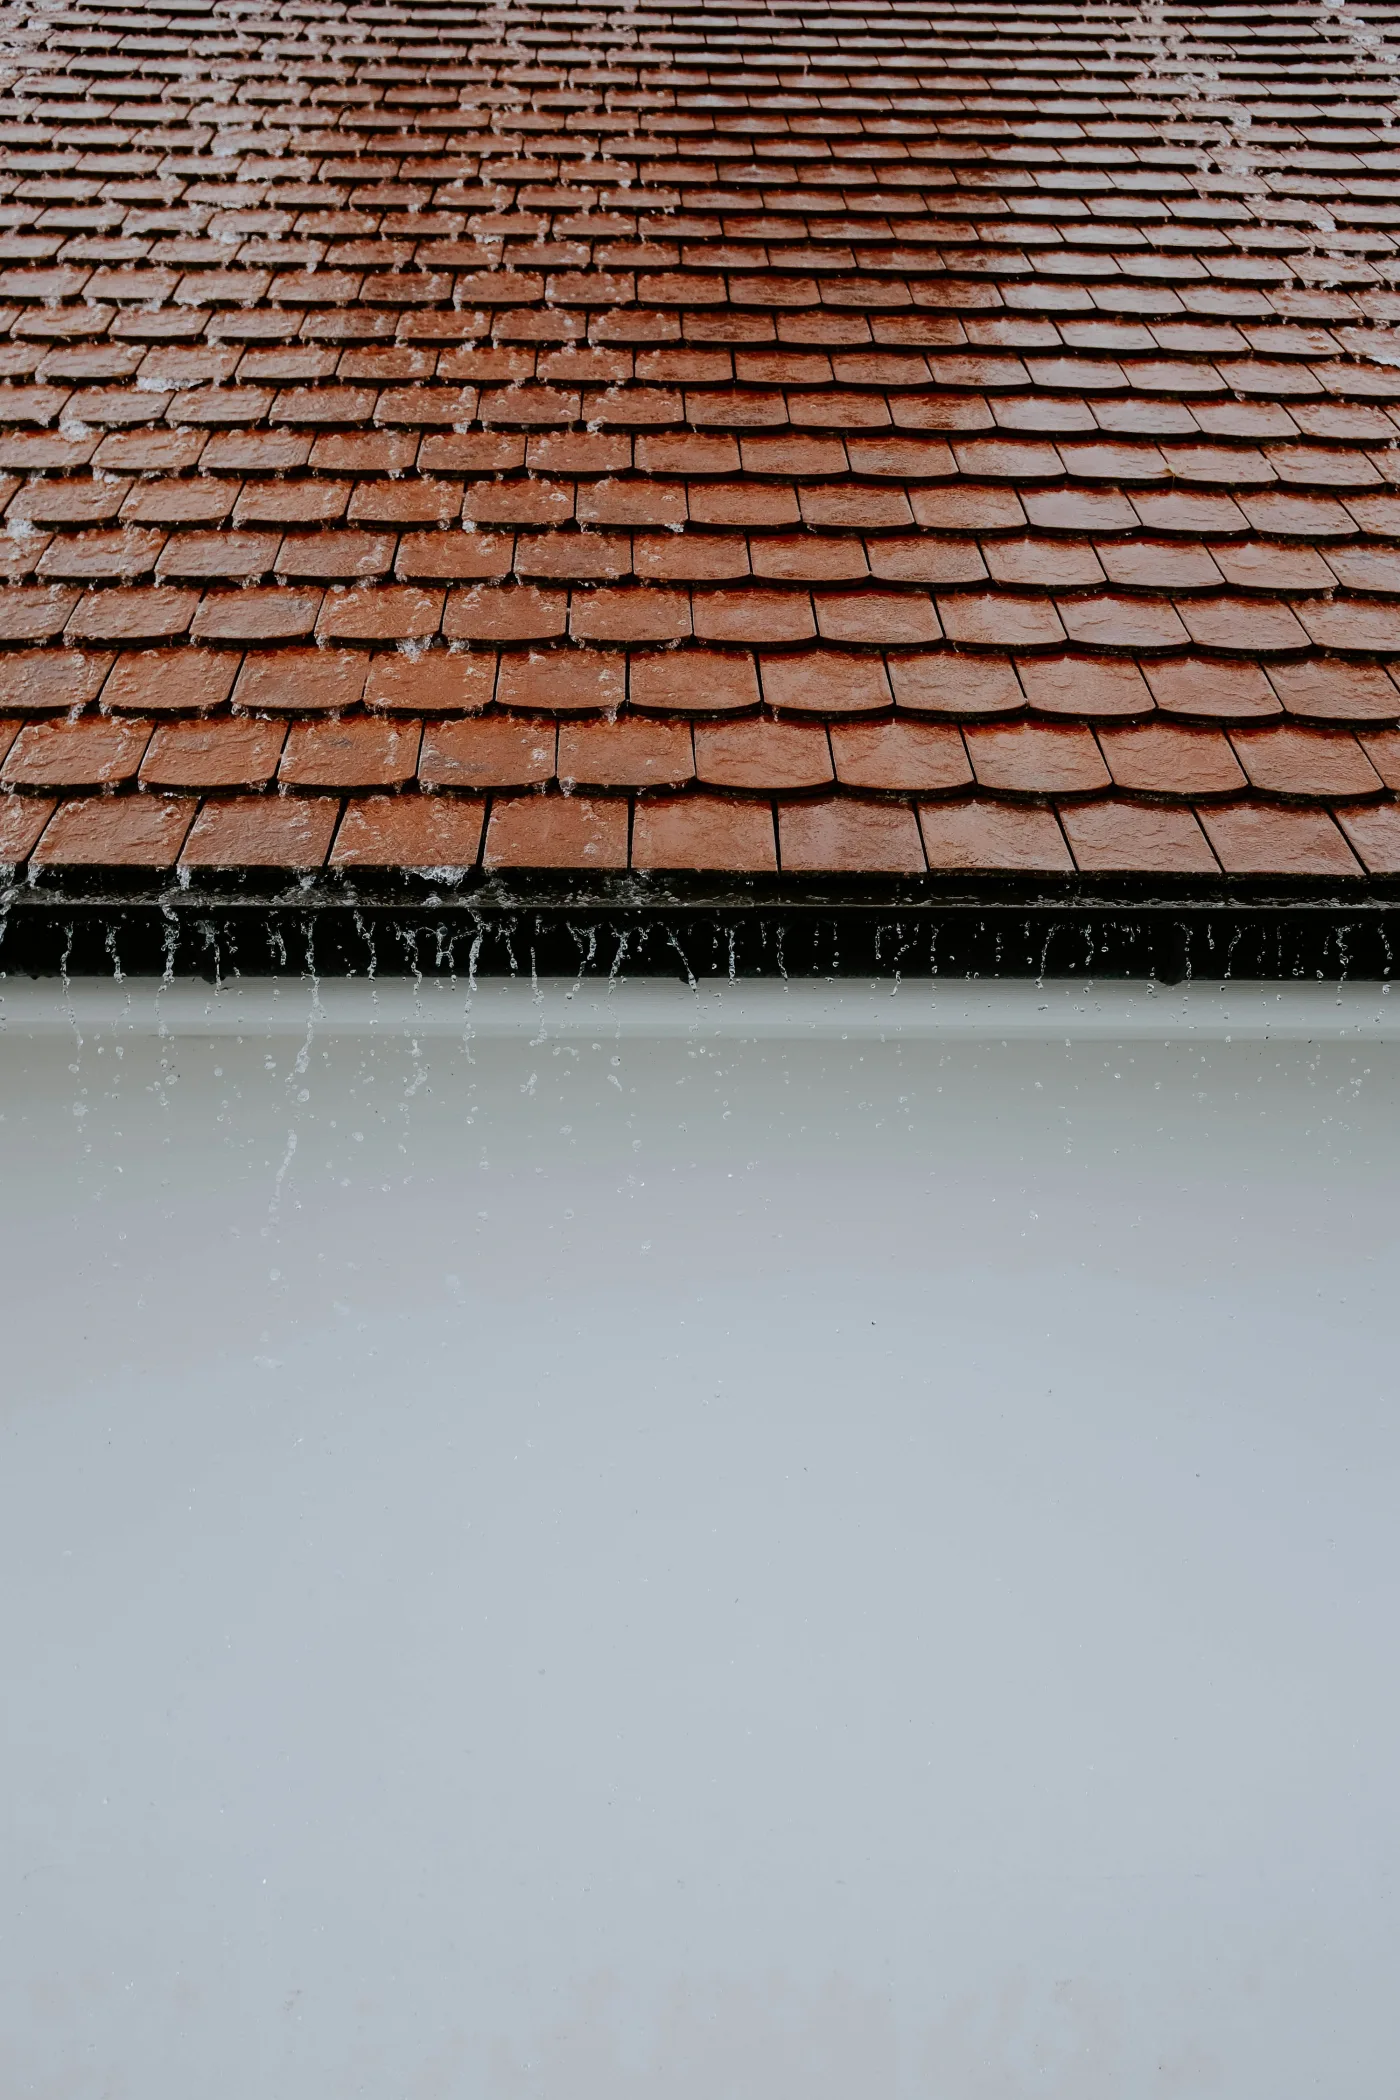
The main purpose of roof waterproofing in timber buildings and tiny houses is to remove rainwater and snowmelt quickly. Slope matters as much as the covering material. On low-pitched roofs, membrane continuity, overlap allowances and edge upstands become more critical.
The waterproofing membrane, thermal insulation, vapour control layer and ventilation cavity must work together within the roof build-up. If condensation forms inside the roof, timber elements can be damaged even without water entering from outside. Roof details must therefore account for warm, humid indoor air as well as rainwater.
Facade Waterproofing and Ventilated Cladding
The cladding surface on a timber facade must never be treated as waterproofing on its own. A secondary water control layer must be provided behind timber boarding, composite cladding, fibre-cement or metal facade cladding. This layer prevents wind-driven rain entering the structure.
The ventilated facade principle is a strong solution for timber buildings. The cavity behind the cladding allows incoming water to drain downwards and moisture to dry out. If this cavity is interrupted, moisture accumulates behind the facade. In structures with small sections such as tiny houses, even a few centimetres of ventilation cavity can make a significant contribution to building life.
Floor, Chassis and Underbody Insulation
The underbody is one of the most frequently neglected areas in tiny house waterproofing. Even if the structure is raised above the ground, rain splash, road water, snow, mud and condensation can affect the lower floor. The underside of the timber frame must be secured with suitable cladding, a waterproofing membrane and mechanical protection.
In fixed timber buildings, foundation connections, plinth details and separating layers preventing timber from drawing moisture from the ground are important. Timber must not directly contact concrete or constantly damp surfaces. A continuous waterproofing line must be created against capillary water rise.
Protecting Timber in Bathrooms and Wet Areas
The small bathroom in a tiny house experiences concentrated shower water, vapour and temperature changes. Ceramic tiles alone do not provide waterproofing. Liquid-applied waterproofing beneath the tiles, corner tape, drain collars and wall-floor junction details must be correctly installed.
Where coverings are installed over a timber floor, flexing of the supporting substrate must also be considered. Flexible waterproofing products must be used together with a suitable primer and covering system. Drainage falls, shower tray junctions and service outlets must be planned before installation.
What Should Be Considered When Choosing Materials?
When selecting timber building waterproofing products, the term "waterproof" alone is insufficient. Application area, flexibility, UV resistance, vapour permeability, substrate adhesion and mechanical strength must be assessed together.
- Facades: Vapour-regulating waterproofing membranes, wind barriers and sealing tapes may be preferred.
- Roofs: A membrane, underlay and tape system suited to the slope and covering type must be selected.
- Wet areas: Flexible liquid-applied waterproofing, corner tape and drain collars must be used together.
- Underbody: Protective layers resistant to water, impact and road conditions should be considered.
- Junctions: Compatible tapes and sealants must be used around windows, doors and service penetrations.
Common Installation Mistakes
Waterproofing errors in timber building and tiny house projects usually originate in small details. Even when the main surfaces are covered, a screw hole, reversed overlap or open corner can be enough for water to enter.
- Installing membrane overlaps against the direction of water flow
- Leaving weak drip edge and sill details below windows
- Failing to provide a ventilation cavity behind cladding
- Omitting waterproofing beneath tiles
- Using ordinary sealant as a temporary solution at service penetrations
- Allowing timber to contact concrete, soil or constantly damp surfaces
- Enclosing the structure with incorrect layers inside and outside that trap moisture
A Short Tiny House Checklist
- Are roof slope and rainwater drainage correctly resolved?
- Is there a water drainage and ventilation cavity behind the facade cladding?
- Are sealing tape, sill and drip edge details complete around windows and doors?
- Is the underbody protected against road water, splash water and condensation?
- Were waterproofing beneath tiles, corner tape and a drain collar installed in the bathroom?
- Is the vapour control layer suited to the climate and use scenario?
- Have inspection points been left accessible for maintenance?
Why Are Maintenance and Periodic Checks Important?
Timber buildings require regular maintenance, so checks must continue after waterproofing is completed. Early detection of blocked gutters, loose facade connections, cracked sealants, gaps around windows and damage to roof coverings prevents major damage.
For tiny house users, checks after moving are particularly important. Road vibration can loosen connections or open elastic joints. The roof, window perimeters, underbody and service outlets must be reviewed after every move.
Frequently Asked Questions
Is one product enough for waterproofing a timber building?
No. Timber building waterproofing requires roofs, facades, floors, wet areas and junction details to be addressed together. Even if one product protects the main surface, leaks can occur if windows, doors, drains and service penetrations are not correctly detailed.
Are ceramic tiles sufficient for waterproofing a tiny house bathroom?
Although ceramic coverings may look water-resistant, joints and junctions can allow water through. Flexible waterproofing, corner tape and drain collars must therefore be used beneath tiles in tiny house bathrooms.
Should a timber building breathe?
The aim in timber buildings is to manage moisture in the correct direction rather than allow uncontrolled air movement. Waterproofing must stop external water, while vapour control layers must be designed to reduce condensation risk.
Why is tiny house underbody insulation important?
The underbody can be exposed to rain splash, road water, snow, mud and condensation. Without protection, moisture damage can occur in the timber floor and supporting elements.
Conclusion: Waterproofing timber buildings and tiny houses requires correct detail design as much as the right materials. Addressing roofs, facades, floors, wet areas and vapour control together gives the structure a much longer life against moisture, mould and rot risks. Professional product selection and careful installation directly improve comfort, energy efficiency and structural safety in tiny house and timber building projects.