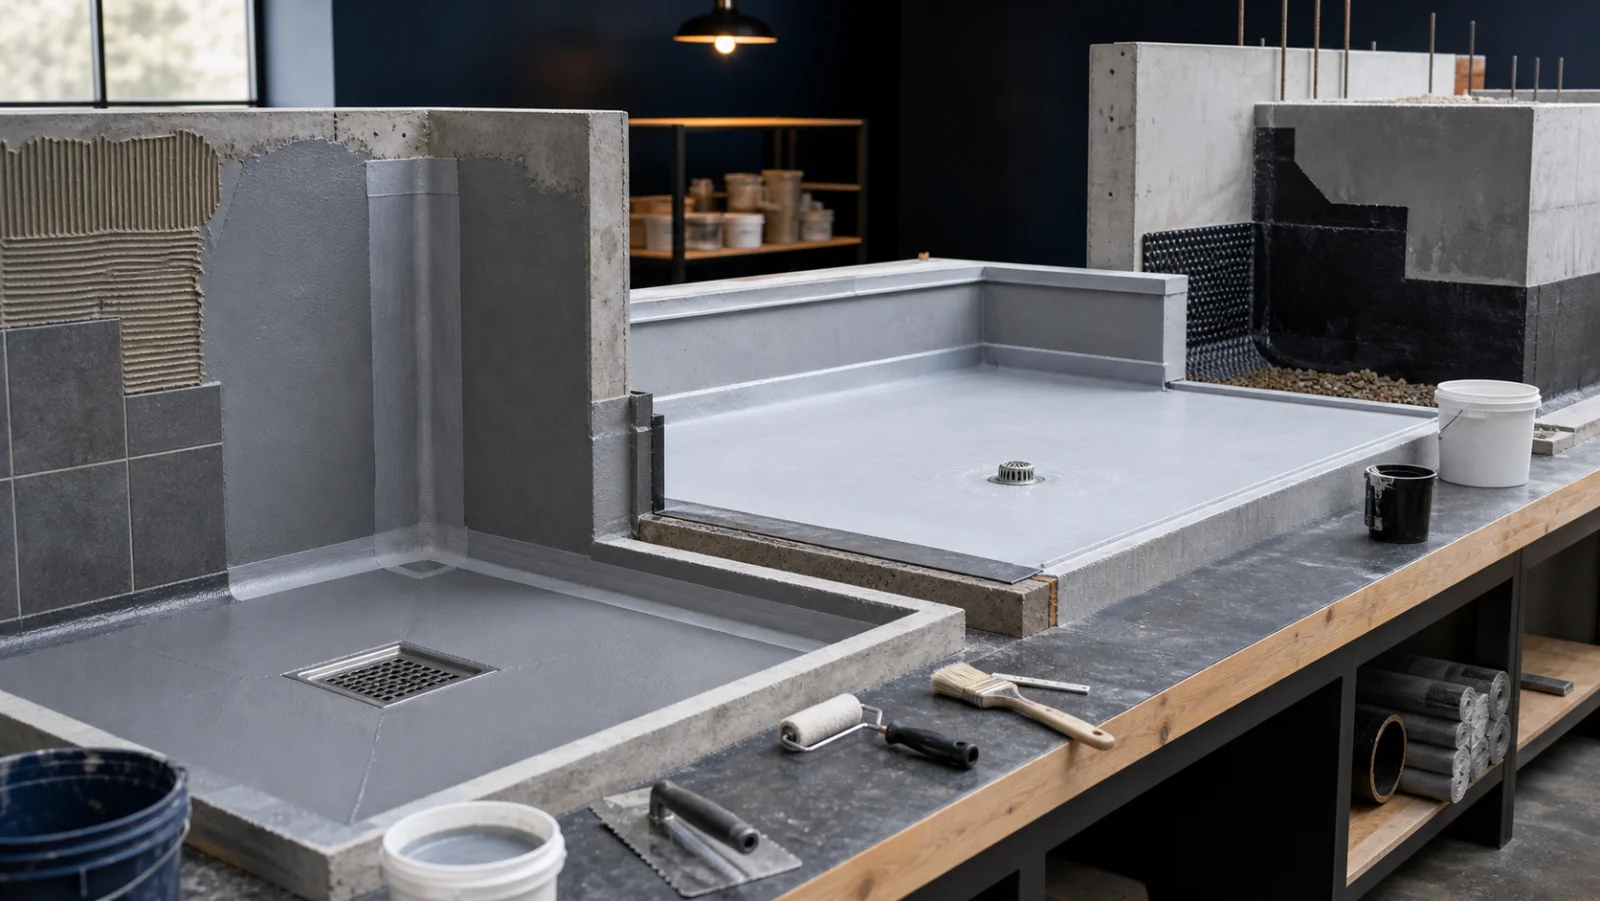
Bathroom waterproofing creates a continuous waterproof layer on floors and water-exposed walls before tiles are laid. Tiles, grout and silicone complete the visible surface, but do not provide waterproofing alone. Over time, water can reach underlying layers through joints, wall-to-floor junctions, pipe penetrations and drain surrounds.
Correct installation involves more than coating the floor. Falls, drain connections, corner tape, pipe collars, product layer thickness, drying time and the tiling system must work together.
Which Bathroom Areas Need Waterproofing?
Waterproof the entire bathroom floor, turning continuously up at wall bases. Directly wetted shower walls, tap and shower outlets, niches, seats and thresholds are also part of the system. Assess splash zones around basins and baths according to the intended use.
No single waterproofing height suits every bathroom. Consider showerhead position, enclosure type, accessible shower layouts, niches and splash zones. The key is to leave no unprotected points between directly wetted surfaces and the floor waterproofing.
Which Material Should Be Chosen Beneath Tiles?
| Product group | Potentially suitable substrate | What to check |
|---|---|---|
| Flexible cement-based liquid waterproofing | Mineral surfaces such as concrete, cement screed and render | Flexibility class, coat count, total thickness and waiting time before tiling |
| Ready-to-use liquid waterproofing | Indoor walls and floors approved by the manufacturer | Primer, substrate type, wet-area class and continuous water exposure |
| Sheet waterproofing membrane | Surfaces requiring consistent layer thickness and fast installation | Overlap, corner, pipe, drain and adhesive system |
| Polyurethane-based system | Special details where substrate and service conditions require it | Suitable primer, moisture limit, finish/tile compatibility and manufacturer approval |
Cement-based waterproofing products are common on mineral substrates such as concrete and cement screed. Do not apply the same product directly to timber, plasterboard, old tiles or metal without checking a suitable system, primer and manufacturer approval.
Pre-installation Checklist
- Plumbing must be complete, with pressure and leak checks performed.
- Screed must fall towards the drain without reverse falls or ponding.
- The drain must have a flange or collar detail connecting to the chosen waterproofing system.
- The substrate must be sound, clean, even and load-bearing; secure moving boards or loose render.
- Substrate type, temperature and moisture conditions must comply with the product data sheet.
- Corner tape, internal/external corner pieces, pipe collars and drain details must be ready before work begins.
How Is Bathroom Waterproofing Installed?
1. Prepare the substrate
Remove dust, oil, release agents, paint and loose particles that could prevent adhesion. Repair bulging render, cracks, voids and sharp projections with suitable material. Avoid abrupt or broken transitions between walls and floors so waterproofing tape can turn smoothly.
Priming or pre-wetting depends on product type. Some cement-based products require pre-wetting mineral substrates, while absorbent or special surfaces need a system primer. Do not leave a water film or ponding, and do not use a primer absent from the data sheet.
2. Check falls and drain connections
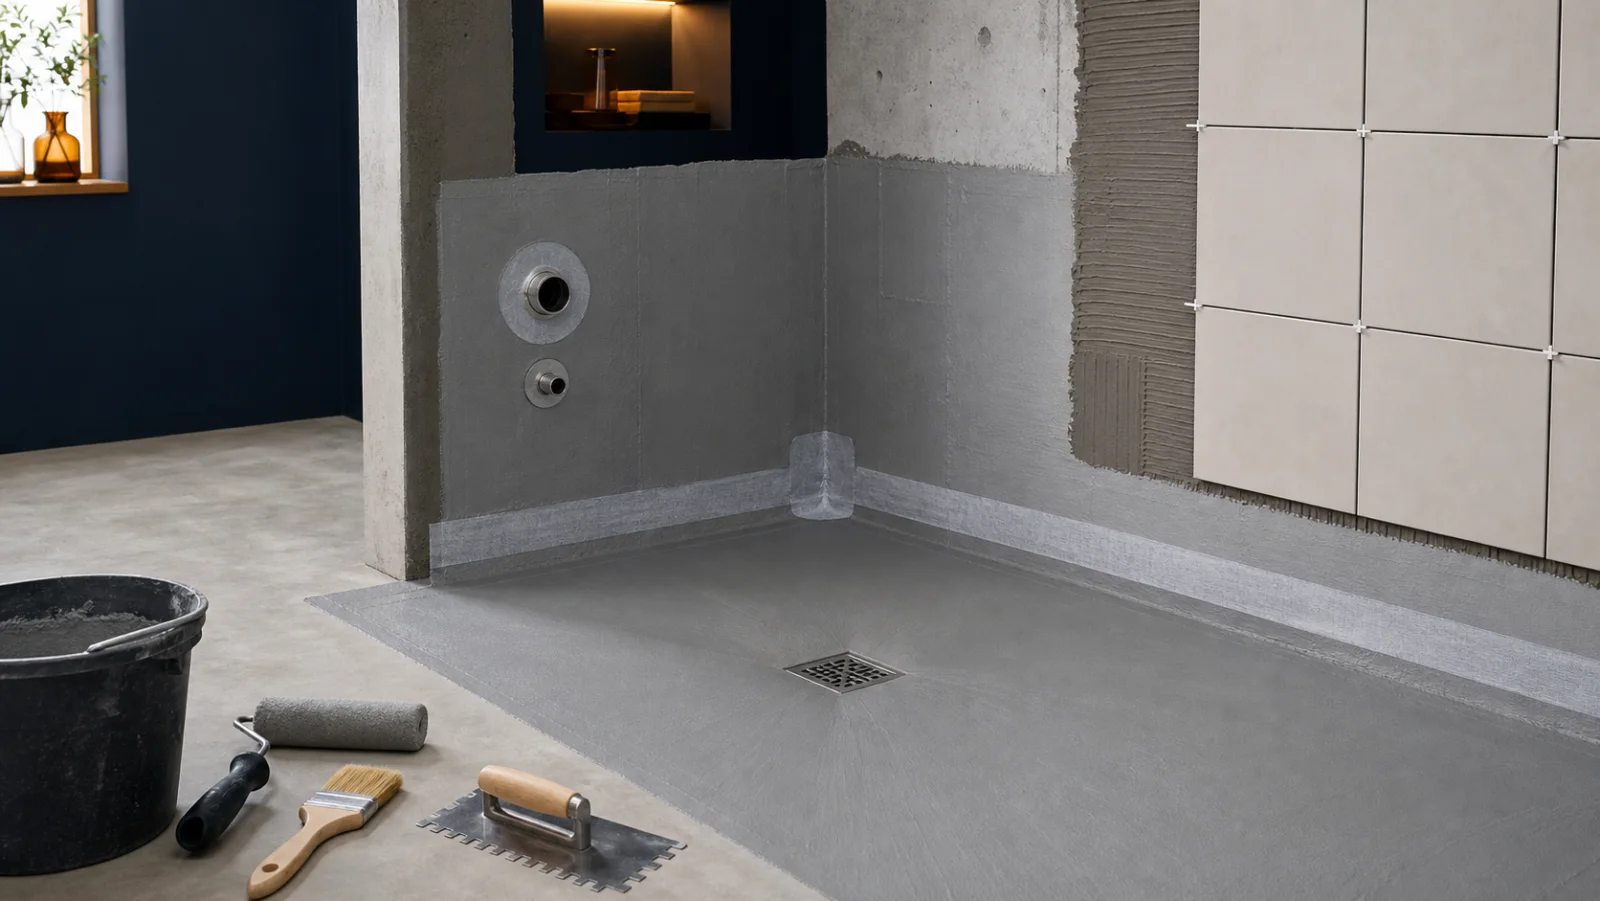
Waterproofing is not a screed for forming falls. Form the shower floor slope before waterproofing so water drains without pooling around the outlet. Linear or point drains must have a flange/collar system to which the waterproofing can connect securely.
Do not waterproof around drains with silicone alone. Connect the main waterproof layer continuously to the drain flange or system collar, leaving no exposed edge through which water could travel beneath it.
3. Tape corners, pipes and critical transitions
Wall-to-floor and wall-to-wall junctions, service pipes, drainage points, niche corners and different substrate junctions concentrate movement and cracking risk. Before coating the main surface, apply compatible elastic corner tape, preformed internal/external corners and pipe collars.
Embed tape in the fresh waterproofing layer and press it with a trowel or suitable tool, leaving no air pockets or wrinkles. Fully embed tape edges in subsequent coats. Follow the system manufacturer's details for overlap length and installation.
4. Apply the first waterproofing coat
For two-component products, mix powder and liquid uniformly with a low-speed mixer without changing the packaged ratio. Do not arbitrarily add water or additives to change consistency. Prepare only as much as can be applied within the pot life.
Spread the first coat evenly over the whole surface using a brush, roller or trowel. Integrate corner tape edges, drain surrounds and pipe collars without leaving them exposed. An excessively thick single coat can prevent proper curing underneath even if the surface appears dry.
5. Apply the second coat crosswise
Once the first coat reaches the condition specified in the data sheet, apply the second perpendicular to the first direction. This helps reduce weak points left by brush or trowel marks. Complete the required coats and total thickness for the product's declared water exposure.
Current product information defines Weber Dry SS-7 Easy for under-tile use in wet areas such as bathrooms, toilets and kitchens. The manufacturer specifies 2–3 coats, approximately 6 hours between coats and 1–2 days before tiling. These times apply only to this product; follow the relevant data sheet for ambient conditions and other products.
6. Check total thickness and consumption
A colour change alone is insufficient for waterproofing. Achieve the manufacturer's required total dry film or application thickness across the whole surface. Very rough substrates may consume more product than expected, so repair surface defects first.
The Weber Dry SS-7 Easy data sheet states that a 2 mm application consumes 3.5–4.0 kg/m². Do not transfer this figure to other products. Calculate actual order quantities from net area, wall turn-ups, niches, roughness and appropriate installation waste.
7. Protect the waterproofing during curing
Protect the surface from water, high humidity, dust, impacts and premature foot traffic during drying. Other trades, ladder feet or sharp tools can puncture a completed membrane locally. Repair any damage to the system detail before covering it with tiles.
“Touch dry” may not mean ready for water testing or tiling. Waiting periods between coats, before tiling, for full drying and for watertightness can differ.
8. Carry out a controlled water test
Before tiling, a controlled water test after the product's declared full-cure or watertightness time helps identify defects before they are concealed. Temporarily plug the drain appropriately, mark the test level and monitor adjacent and lower spaces for leaks.
Do not assume the same water depth and duration for every project. Follow the drain manufacturer, waterproofing system, site conditions and project supervisor's method. Do not exceed the structure's permitted load or mistake evaporation-related level changes directly for leakage.
9. Proceed with tiling and grouting
Use tile adhesive compatible with the waterproofing and wet-area conditions. Do not introduce mechanical fixings that puncture the waterproof layer. Arrange adhesive ridges for full contact appropriate to tile size.
Treat wall-to-floor, wall-to-wall and dissimilar-material junctions as movement joints, finishing with suitable elastic sealant rather than locking them with rigid cement grout. Silicone or sealant protects the visible joint but does not replace the main waterproofing underneath.
Weber Dry SS-7 Easy Installation Summary
| Property | Current manufacturer information |
|---|---|
| Use | Beneath tiles in bathrooms, toilets, kitchens and balconies |
| Substrate | Walls and floors; suitable mineral surfaces |
| Coat count | 2–3 coats |
| Between coats | Approximately 6 hours |
| Before tiling | 1–2 days |
| Full drying | At least 48 hours |
| Becomes watertight | 7 days |
| Example consumption | At 2 mm: 3.5–4.0 kg/m² |
The times and consumption figures in the table apply only to Weber Dry SS-7 Easy. They differ for rapid-setting, fully flexible, sheet membrane or polyurethane systems. Check the current technical data sheet supplied with the pack before installation.
Sheet Membrane or Liquid Waterproofing?
Liquid products adapt to complex corners and details, but the installer must achieve the correct thickness everywhere. Sheet membranes can offer consistent thickness and rapid covering, while requiring careful seams, overlaps, corner pieces and drain connections.
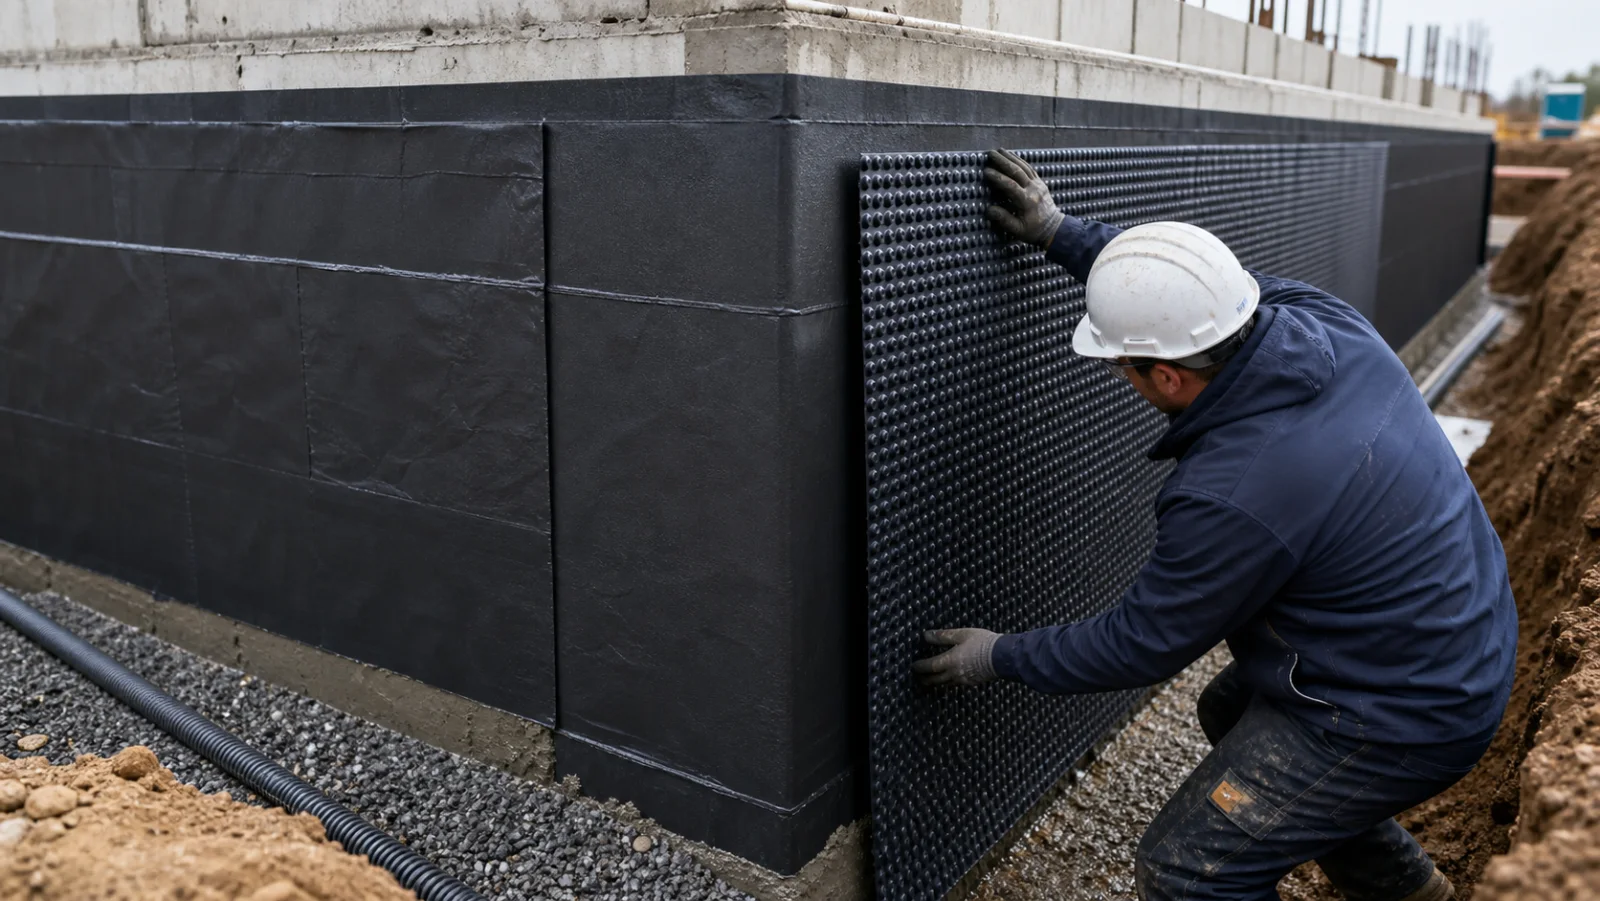
Do not select solely for speed. Assess substrate type, cracking and movement risk, drain system, tile size and adhesive compatibility together. See materials for bathrooms, terraces and foundations in the waterproofing materials comparison.
What Matters in Bathroom Renovations?
Applying new waterproofing and tiles directly over old tiles is risky without verifying the underlying layers. Hollow finishes, moving screed, old silicone residue and unknown water damage can weaken adhesion. Systems installed without removing the surface require manufacturer approval for over-tiling and a suitable primer.
Do not merely cover an active wall or floor leak with a surface coating. First identify the source, plumbing condition and structural cracks; after any local repairs, create a continuous system across the entire surface.
Common Bathroom Waterproofing Mistakes
- Assuming tiles and water-resistant grout provide waterproofing alone
- Trying to solve ponding with waterproofing before forming correct screed falls
- Sealing around drains with silicone alone
- Coating the main surface without corner tape and pipe collars
- Leaving tape wrinkled or failing to embed its edges
- Adding too much water or changing the two-component pack ratio
- Applying one excessively thick coat and ignoring recoating times
- Failing to check total application thickness and consumption
- Water testing or tiling before full cure
- Puncturing waterproofing during tiling or working on unprotected surfaces
Frequently Asked Questions
Do bathroom tiles provide waterproofing on their own?
No. Tiles and grout are finishes; water can travel through joints, cracks and service penetrations. Continuous under-tile waterproofing, corner tape, pipe collars and drain connections are required.
Is bathroom waterproofing applied only to the floor?
No. The entire floor, directly wetted walls such as showers, wall-to-floor junctions, niches, pipe outlets and thresholds must be included. Wall height depends on use and design details.
How many waterproofing coats are required?
The selected product determines the coat count. For example, Weber Dry SS-7 Easy specifies 2–3 coats. Other liquid or sheet membrane systems can have different layer and overlap methods; follow the current data sheet.
How long after waterproofing can tiles be laid?
It varies with product and conditions. Current Weber Dry SS-7 Easy information gives 1–2 days, while rapid-setting products may differ. Do not judge readiness from touch dryness alone.
Is a water test necessary before tiling?
A controlled test helps identify waterproofing defects before they are concealed. Perform it after the declared full-cure or watertightness period, using the depth and duration specified by the project supervisor.
Conclusion: Durable bathroom waterproofing combines a sound substrate, correct falls, secure drain connections, tape- and collar-reinforced details and coats applied to manufacturer specifications. Browse waterproofing products and obtain technical support from Erk İzolasyon for a system suited to your bathroom's surfaces and use.